When disassembling:
Replacing Front Control Arm (aka Transverse Link) Bushings
When disassembling:
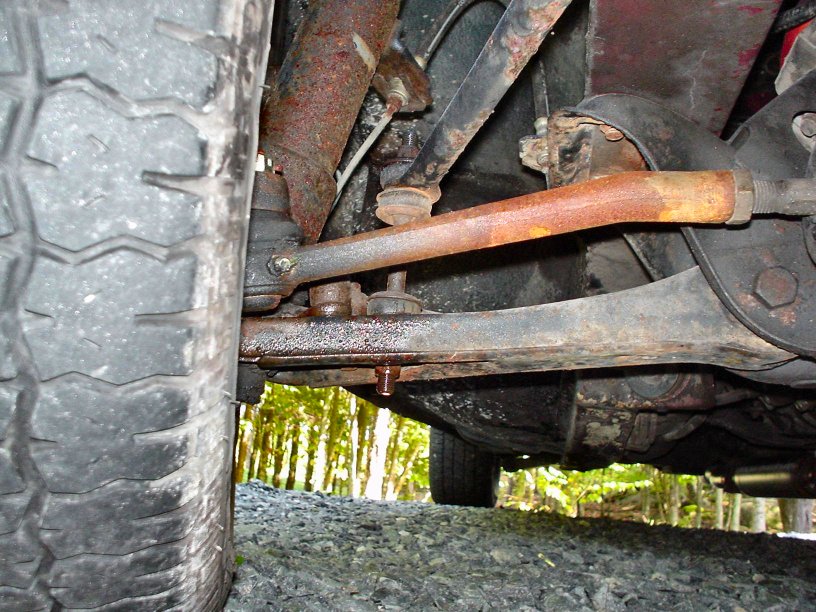
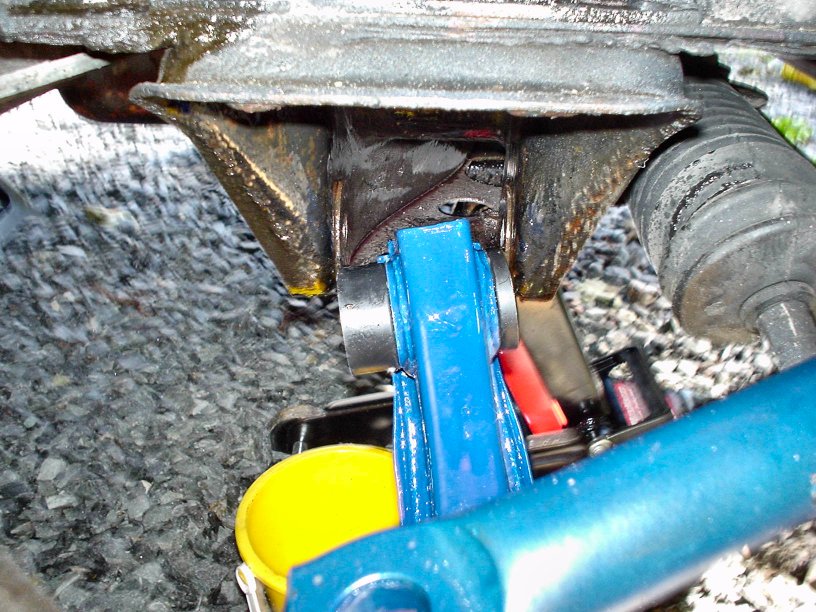
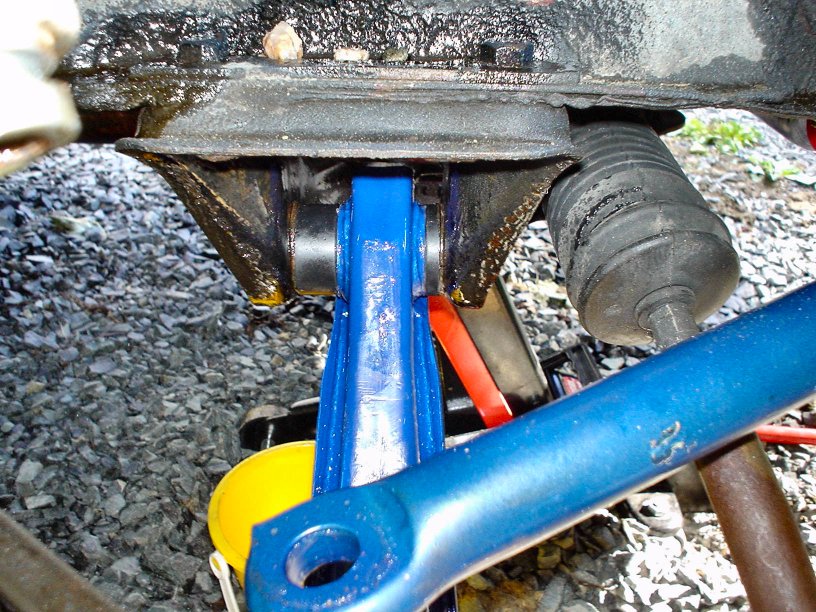
Drop the control arm and pull out.
Unbolt ball joint and knuckle arm assembly
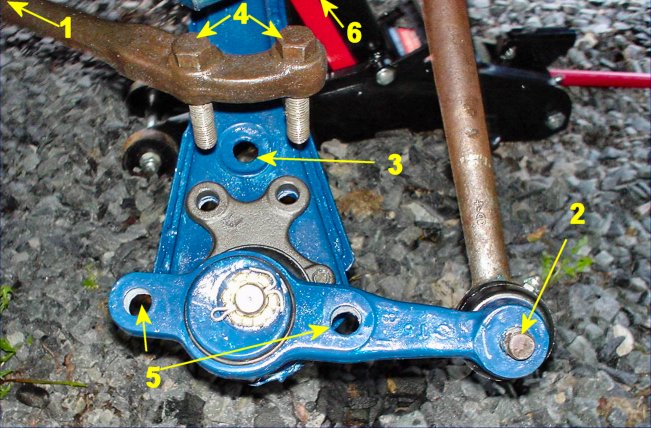
Passenger side control arm removed. Note the longer bushing is on the backside
of car.

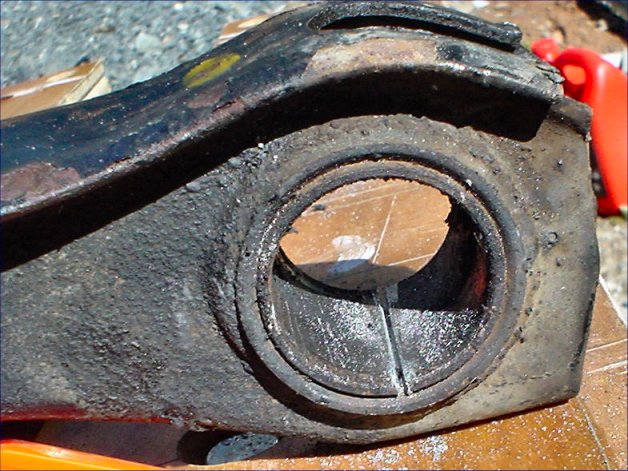
The old rubber bushing is sandwiched between two sleeves (inner and outer).
Both are not needed when installing new Energy Suspension bushings.
The inner sleeve must be pressed or cut out to ensure correct fit of the new
bushing.

To remove the inner sleeve, heat the assembly (both ends of bushing and
center) with a propane torch.
Don't worry if the rubber catches fire. Just watch out for hot dripping rubber!

When the rubber bulges out of both ends, it has detached from the sleeves and
can be worked.
Pull the inner sleeve out using pliers.
note: Nigel
from zcar.com recommends only heating the control arm near the outer sleeve
and
pulling the whole bushing and inner sleeve in one shot. This is less messy
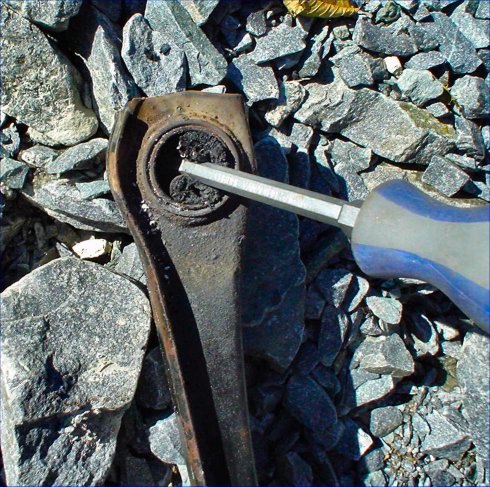
Slide a large flat screw driver blade down between the outer sleeve and rubber
bushing.
Pry the rubber away from the wall.

Pry out the rubber or pull it out with pliers.

The outer bushing can now be pressed or cut out. Since I don't have a press, I
cut.
Hire a magician to poke a hack saw through the bushing hole as shown.
Cut using long, level strokes.
Check often to ensure even depth across the bushing.
note: 240/260Z
from zcar.com recommends Scott Bruning's (previous owner of Ztherapy) suggestion
of cutting towards the outer end of control arm.
With respect to the photo below, the cut should be 90° more CW. (at 9 o'clock
rather than the 6 o'clock shown)
Stop cutting when you break through. It is not obvious so you have to monitor it
as you cut.

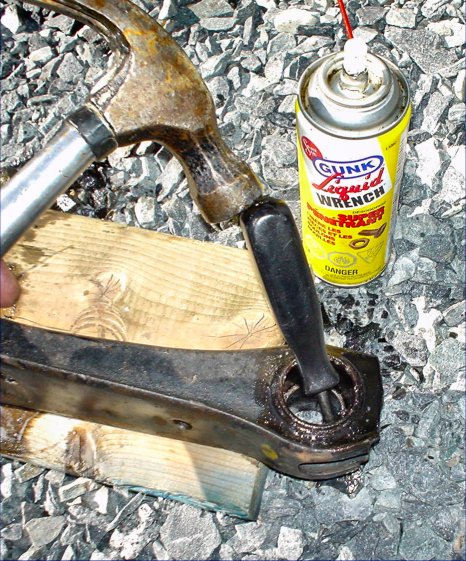
Since the outer sleeve is seized to the control arm, you must pry it loose
before pressing out.
Use a disposable awl or small flat head screw driver. (Heat may also work).
Tap the screw driver between the outer sleeve and control arm working from the
cut. Do both sides of the bushing.
Using an anti seize solution helps.

Once the outer sleeve is partially separated, you can start tapping it out. My
hammer was a similar diameter so I could "persuade" it out.
When the sleeve is too deep for the hammer, it can be worked out with a
"disposable" screw driver.

Gotcha

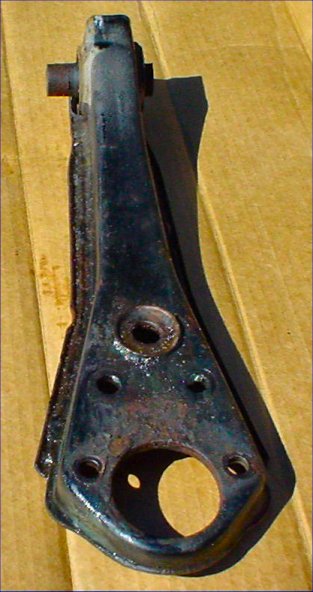
Old vs. New
Note that bigger bushing is on the rear side.
Also note that the new Energy Suspension bushings do not use the outer sleeve.
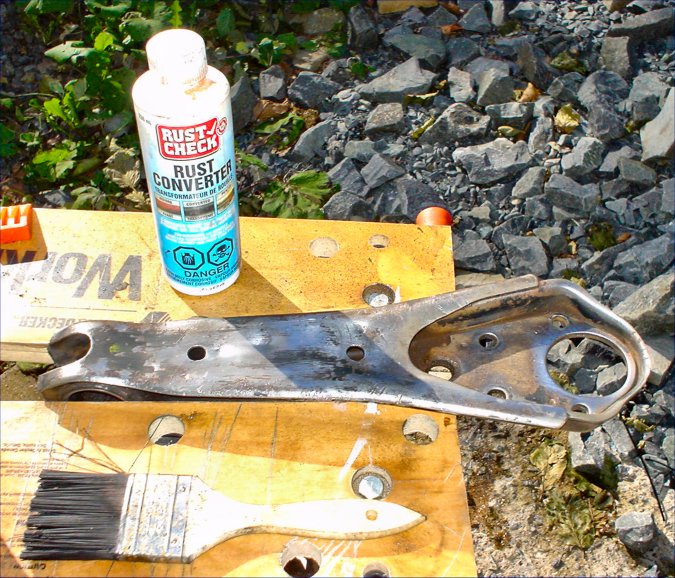
Sandblast or wire brush the surface rust from the control arm and coat with a
rust neutralizer (phosphoric acid).
When cured, wipe off gunk and paint with anti-rust primer then finish with
anti-rust paint.

Grease and insert bushings then grease and insert the inner sleeve.
note: this is the driver side control arm with bigger bushing facing back of
car.
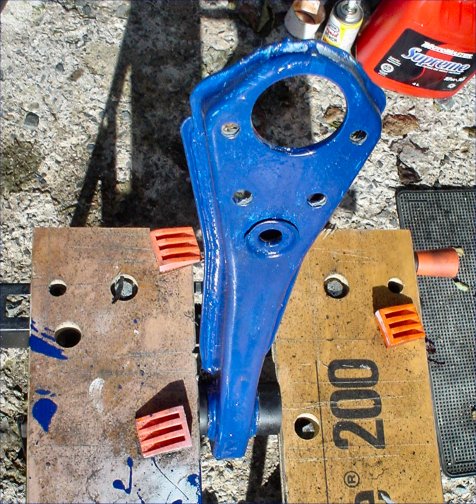
Here is the step that will save you problems:
Pre-Compress the bushing and sleeve in a vice (Workmate in this case :)

Coating the area with a lubricant will also assist
in fitting the control arm. In this case I used a preventative rust treatment
and killed two birds with one stone.
Now the last trick: fit the front side in first then
work the back in. Wiggle front to back while working the sleeve into place.
Presto! C