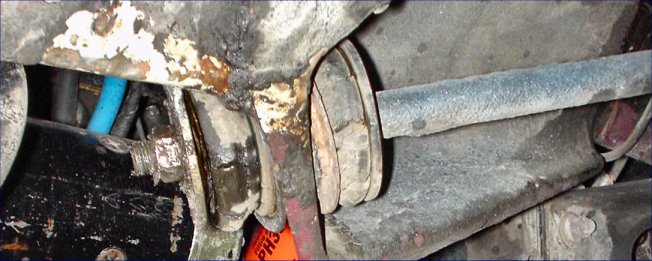
Clean up the compression rod's end nut and thread with a wire brush and
penetrating oil.
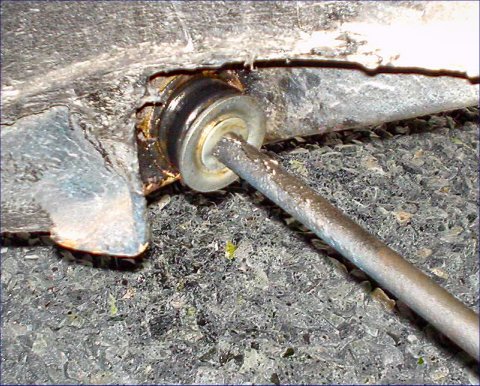
Note that there are two non-removable cups pressed into the frame.
Unscrew the nut.
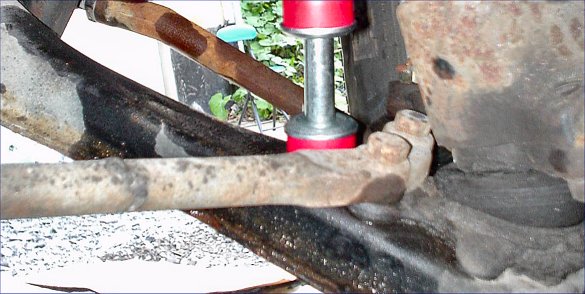
The other side of the compression rod. This gets removed after the
other end is loosened.
In the above photo, you can see the two bolt ends, nuts and lock washers that
hold the other end of the compression rod to
the control arm. A wire brush and penetrating oil makes this job easy.
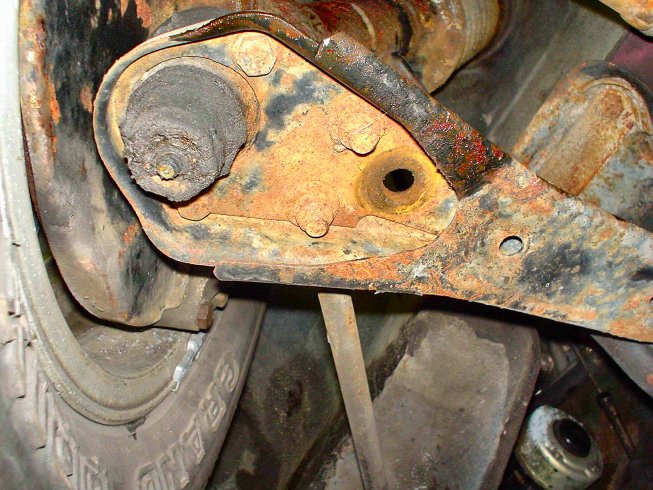
Actually my car's rust is not as bad as the photos seem. It is the result of
a photo enhancement process that makes the
colours more vibrant.
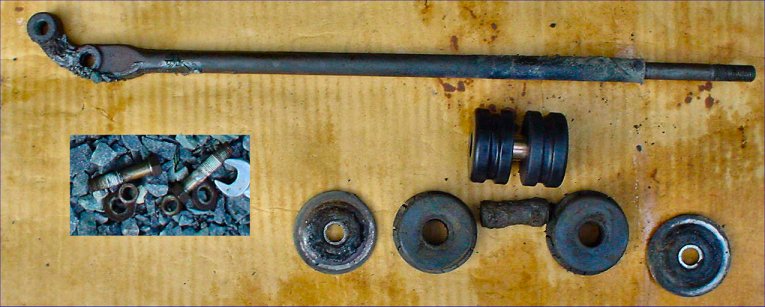
Old vs. New and exploded view of parts.
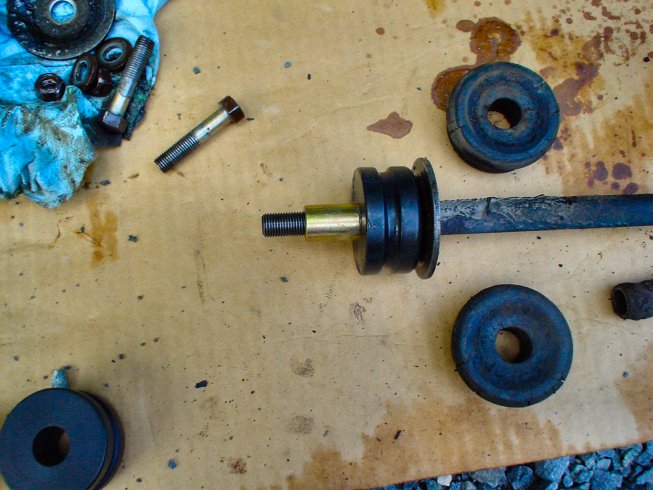
Detail of orientation.
- Cupped washers are convex towards bushings.
- Bushings have flat side towards frame cups
- Grease everything.
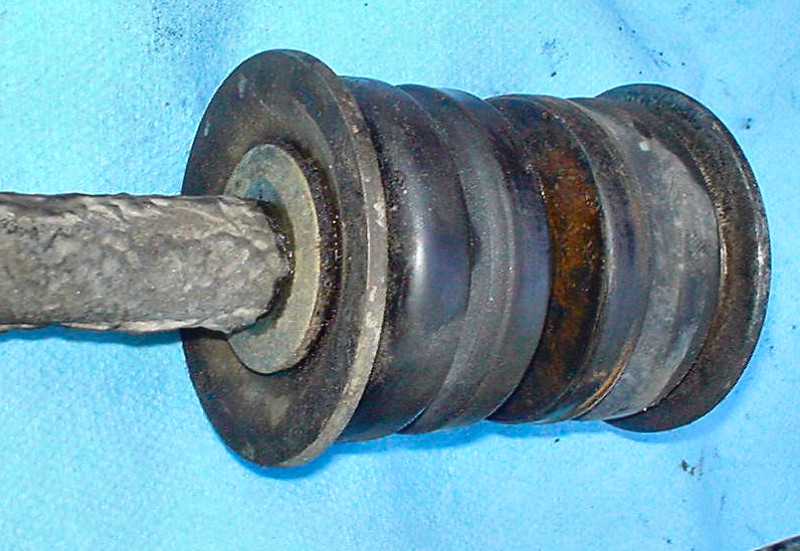
Reassembled!
Reassembly Steps:
- grease and fit front bushing and back
bushing as per sequence below:
(note: there is a large flat washer that goes on first, it was undercoated to the
cupped washer in the above photos and only showed up after "wire brush searching")
- Part Orientation From Front to Back:

flat washer
cupped washer (concave to front)
front bushing (flat side towards frame cup with sleeve inserted)
frame cup (front)
frame cup (rear)
rear bushing (flat side towards frame cup)
cupped washer (concave to back)
captive nut
Grease every thing with supplied grease (washers, frame cups, bushings, cupped washers, sleeve)
- Snug the nut so that the flat side of bushings
seat in the frame cups. Do not over tighten as the stiff compression rod
will cause horrible steering side effects when cornering over bumps. I
recommend considering the ball and socket compression rod kit.
Here.
- Work the front of the rod in place and bolt to
control arm. (Loosening the end nut can help but
watch out for the bushings popping out of the frame cups).
- Double check all work.
Take it for a spin and enjoy the controlled
braking.
Always check assembly and nut torques after first drive to make sure everything is hunky-dory!
![]()
Shims on my buddy's '77 280z
![]()
![]()
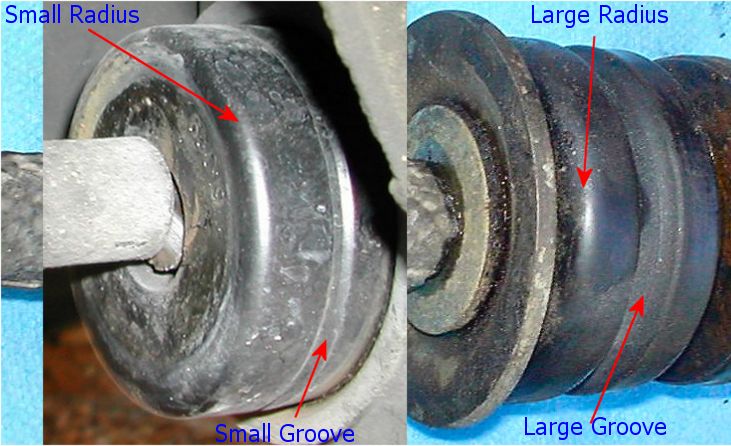
Not all bushings are made alike. Some can break T/C Rods.
G-Machine on left and Hyperflex on right.