Steering Coupler Replacement
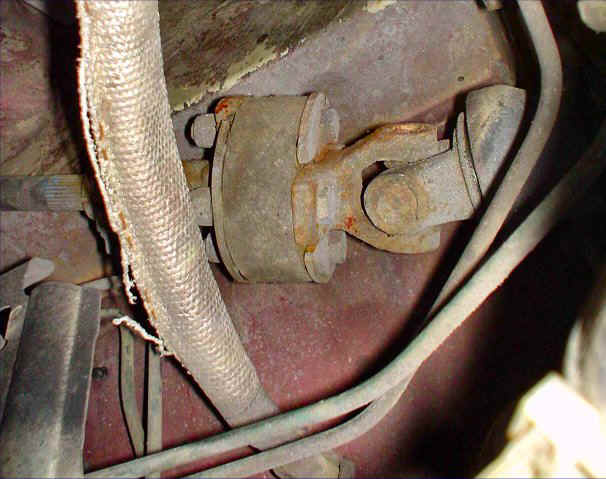
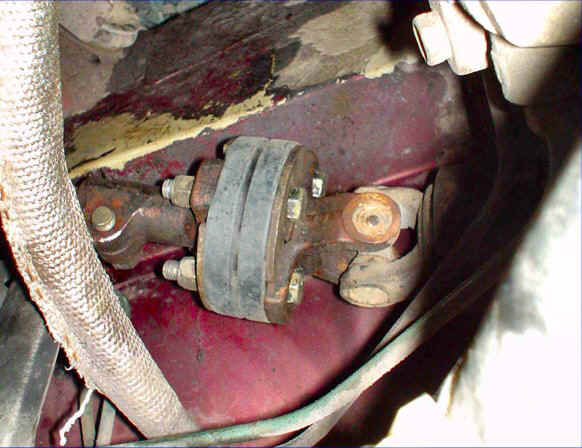
Here is the old "spongy" rubber coupler. It is attached by four bolts,
four lock washers and four lock nuts.
There are also two removable plates sandwiched in there.
The universal joint attaches with two bolts and the steering shaft attaches with
the other two bolts.
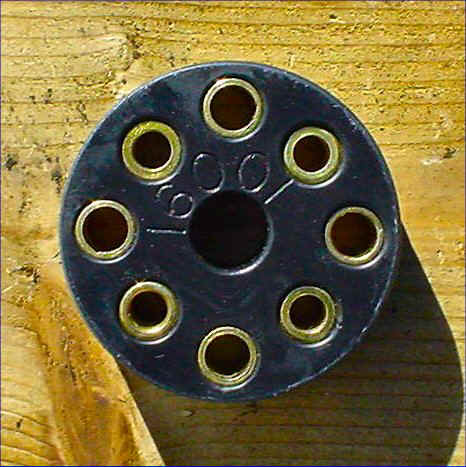
Here is the new Energy bushing. (Part No 16001). Note the two
different sized holes.
The bolts go through the smaller ID holes.
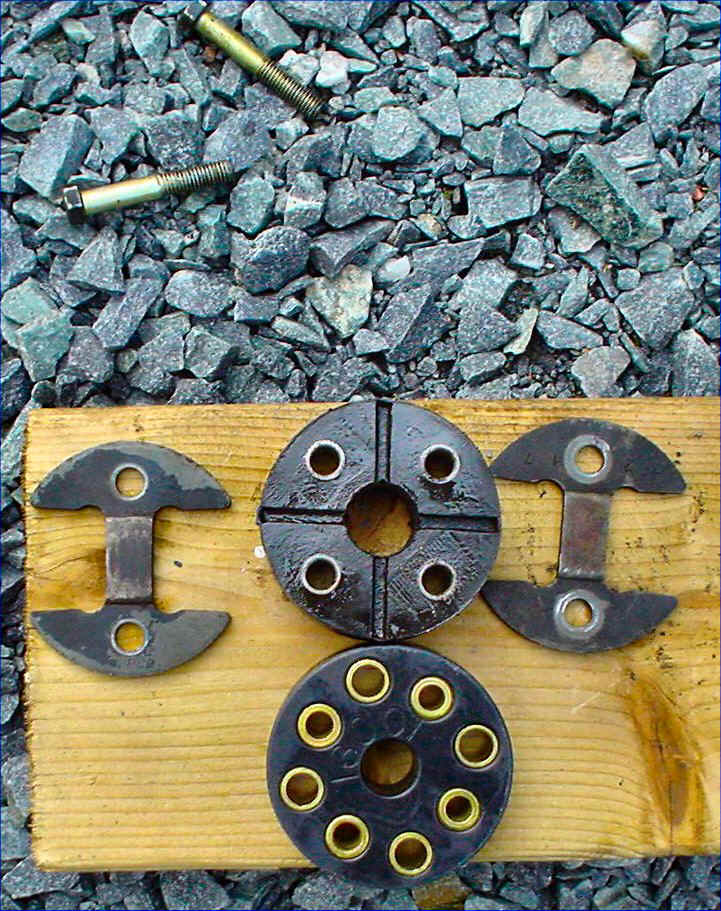
Here is an exploded view of the old and new. The end plates should actually be
90° to each other and form a cross.
Note that there are only two "free" bolts in the picture. The other
two are "trapped" and stay in the universal joint half.
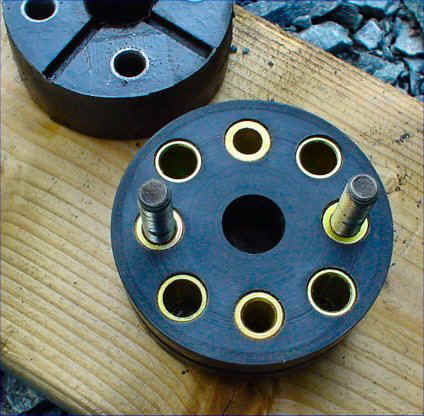
This shows how the smaller holes are used.
Here is the installed new bushing.
Results:
Less wander
More precise steering feel (quicker and less "squishy")
No increase in coupled road vibration
Happy owner :)
Procedure:
I put this last because it is actually a jigsaw puzzle. All I can do is offer
some tips but nothing too explicit.
- two of the bolts are difficult to remove
- align wheels straight and steering wheel then mark left side of universal and
right end of steering shaft. (these reconnect at 90° positions so accuracy is
not required.
- there is no need to loosen the 14mm clamping bolt on right end of steering
shaft.
- use two 12mm wrenches and lots of elbow grease
- reach in on left side of brake cylinder heat shield with left arm and "hug"
underneath it to turn nut.
- loosen all nuts first then start removing (you will have to turn the wheel to
reach all nuts so be sure to mark each end for alignment during reassembly as
the steering wheel will turn freely)
- OK now it gets weird. Wiggle, rotate, twist and turn until you can pull back
all bolts (two can not be removed because their heads hit the universal joint)
- Pull out old bushing, free bolts and end plates
- Assemble the two end plates and new bushing.
- Put in place and wiggle, rotate, twist and turn until you can get one of the
"free" bolts in. (Check alignment marks).
- Continue wiggling and turning until you can get one of the "trapped"
bolts in place.
- Continue turning and wiggling until last two bolts pop through
- tighten all nuts but only until all four are equally "snug"
- do final tightening
- if steering wheel is not aligned, simply remove it and reposition it on spline
- driveeeeeeeeeeeeeeeeeee
