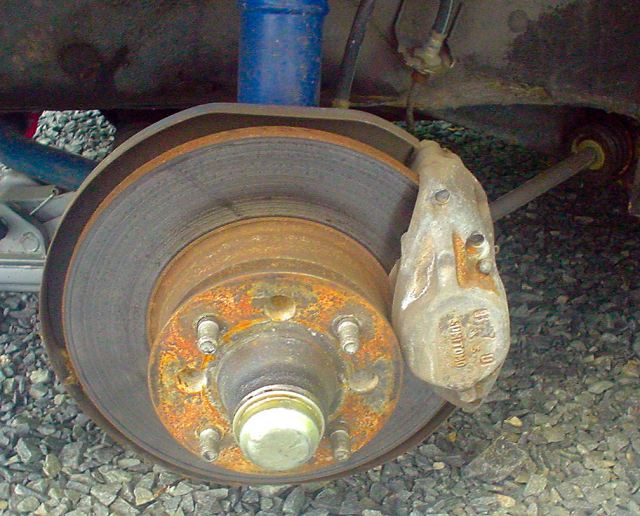
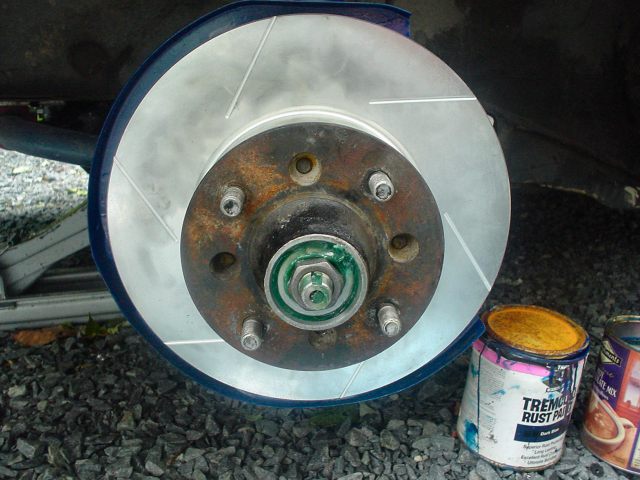
Jack up, remove wheel, and brake caliper.
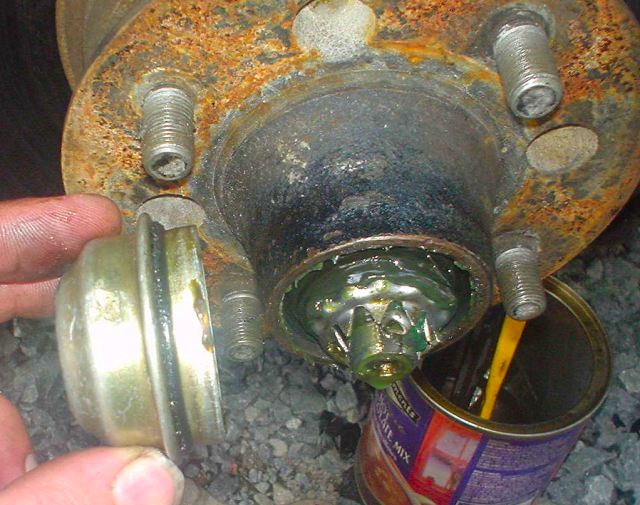
Remove dust cap (a tool exists for this). Use a string or two opposing flat
screwdrivers.
Be careful of the O-ring.
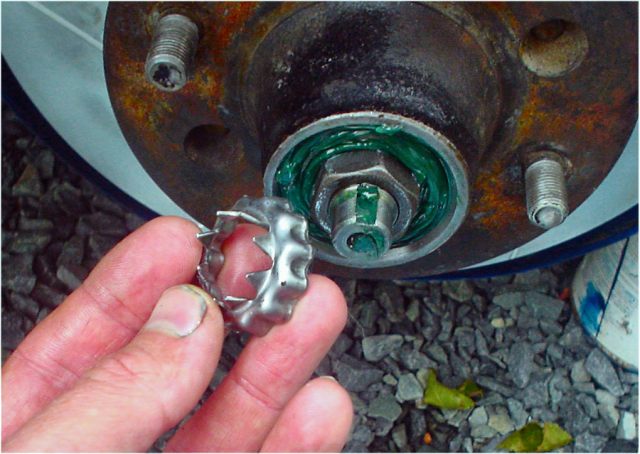
Remove cotter pin

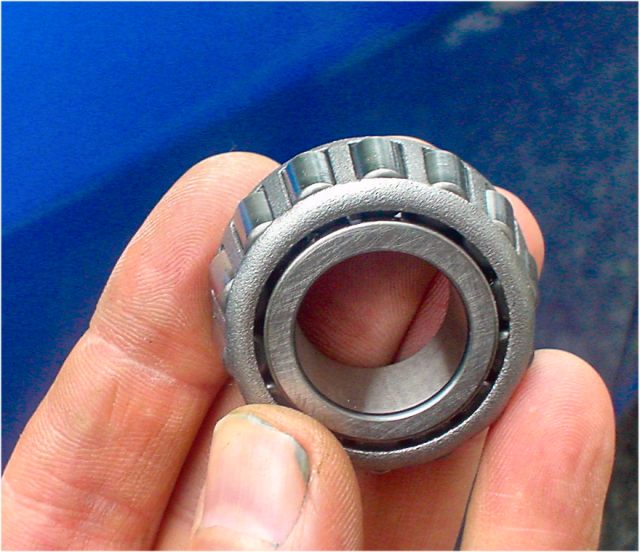
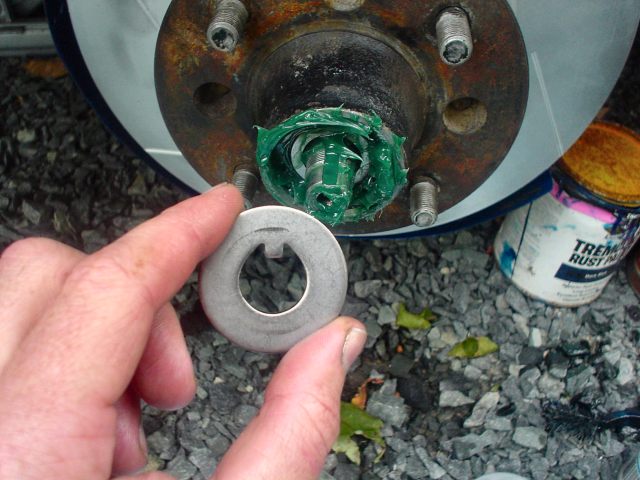
Remove locking nut, nut, washer, and outer bearing
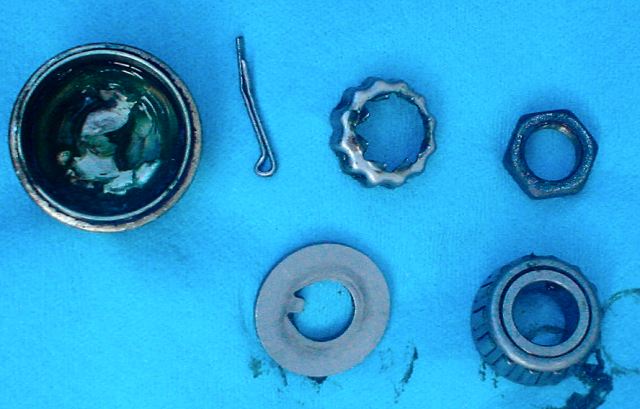
Parts removed so far: dust cap, cotter pin, locking nut, nut, washer, and bearing.
Note: there is no seal on the outer
bearing as the dust cap serves the same function.
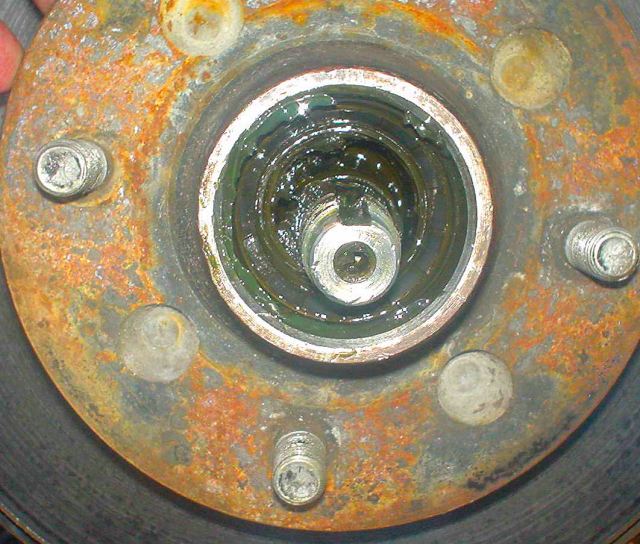
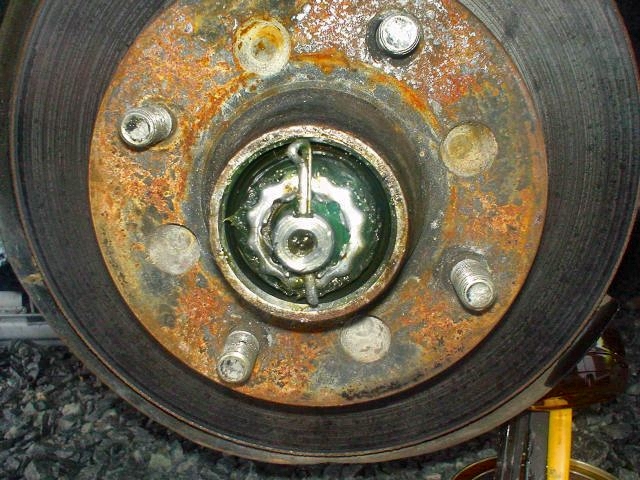
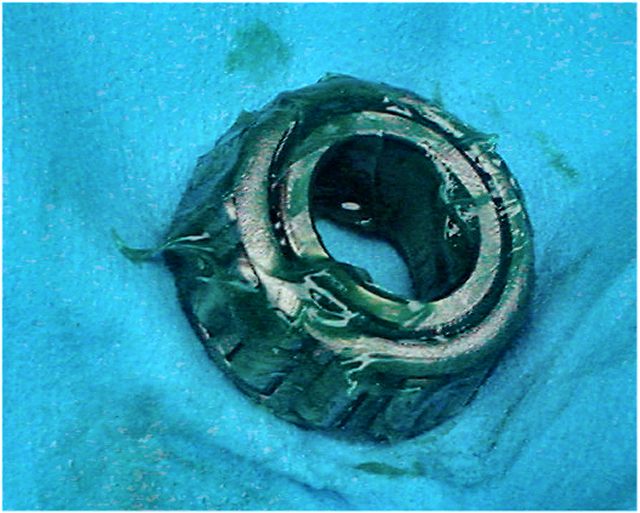
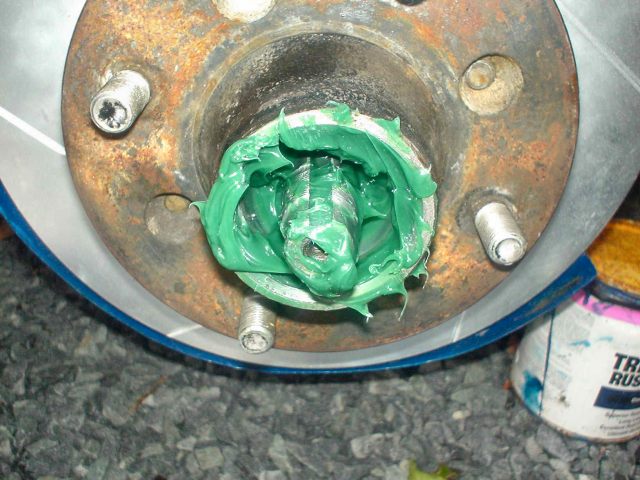
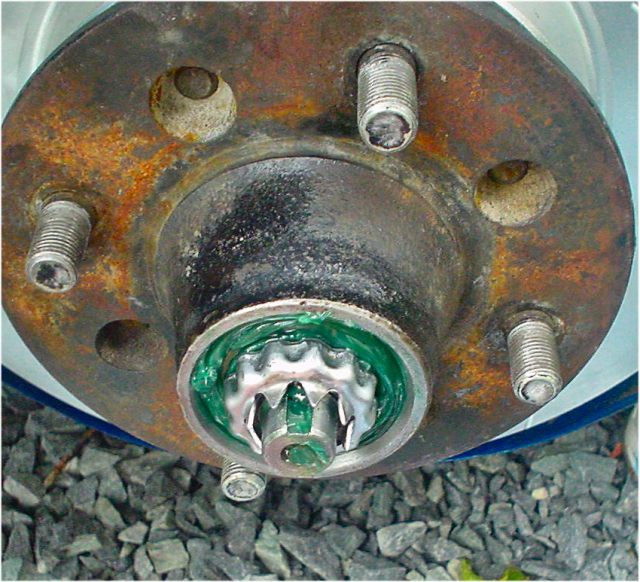
View after outer bearing is removed.

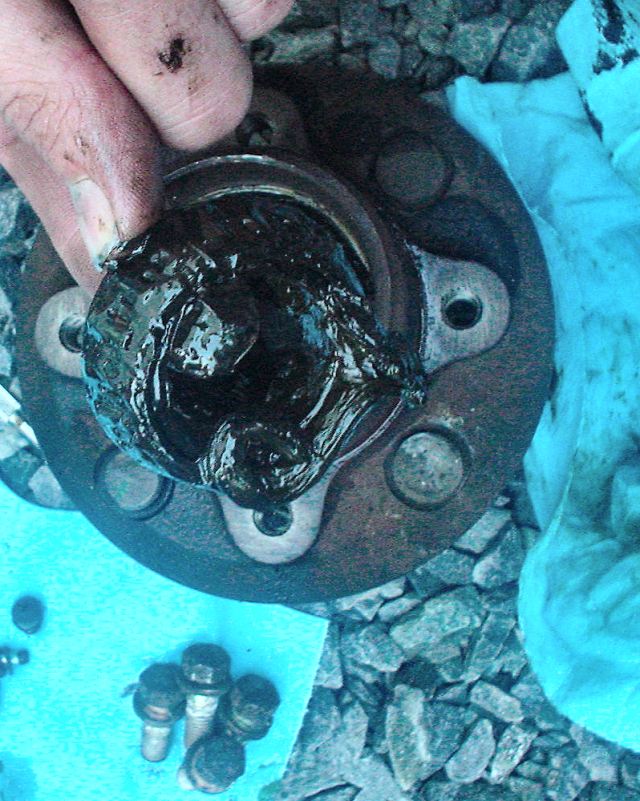
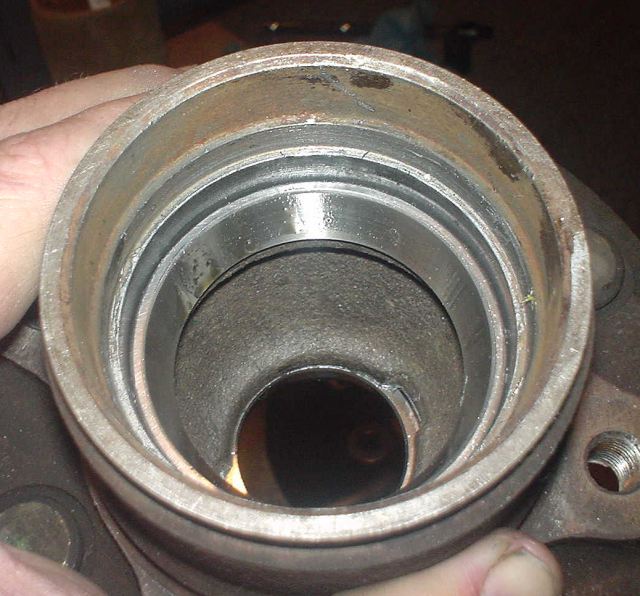
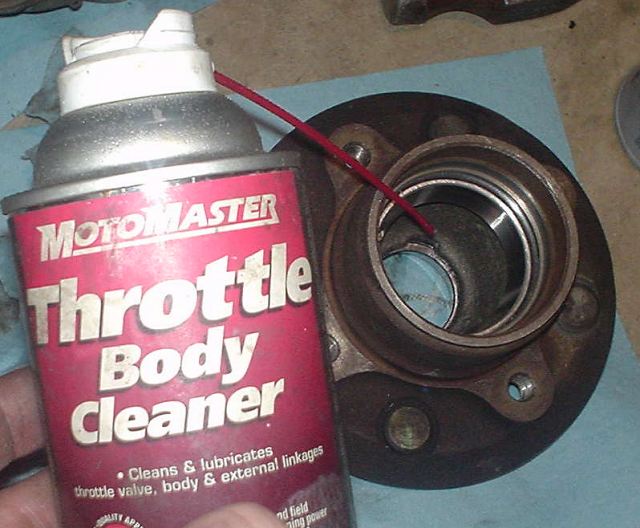
Pull wheel hub assembly. Here is a photo of the back side. You can see the inner
bearing and its seal
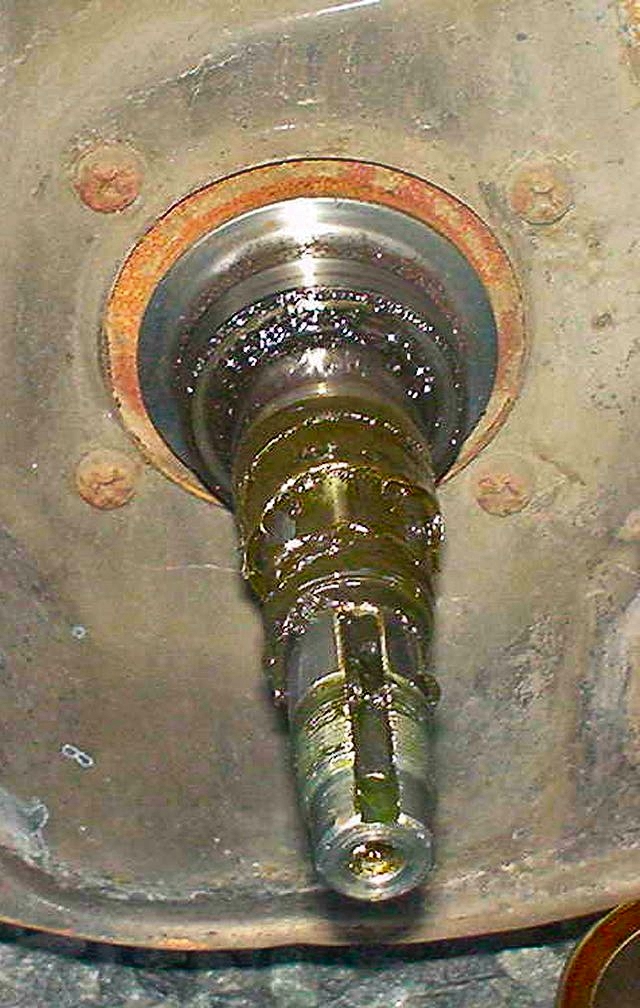
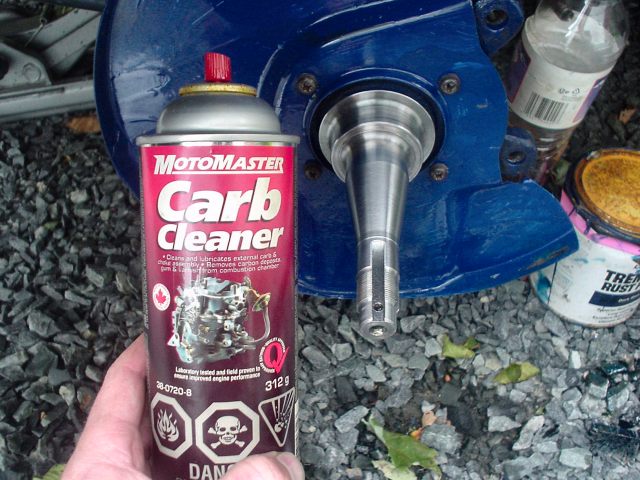
Photo of the spindle with hub removed.
Note: old grease typically has lead in it. Dispose of properly.
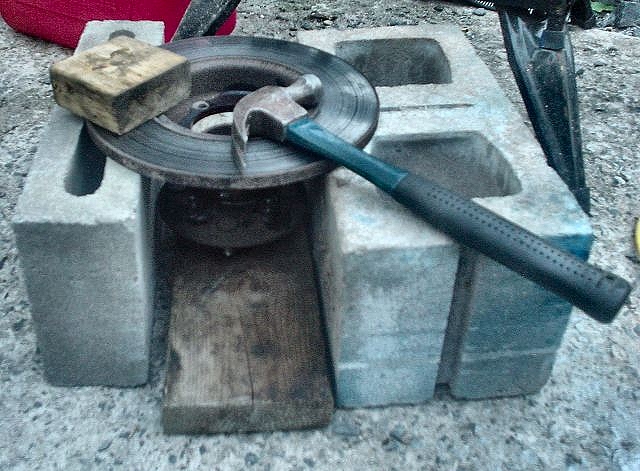
If you are replacing the rotor then you need to do this to separate the hub
from the rotor.
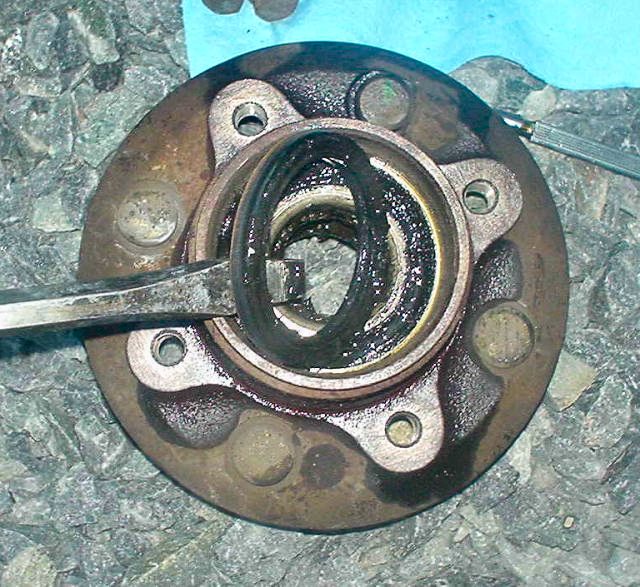
Pry out the inner bearing seal.
Pull out the inner bearing.
Missing Photo of drifting out the front races so here is one of the back
to substitute:
Carefully drive out races using a long brass drift or
round-ended steel punch.
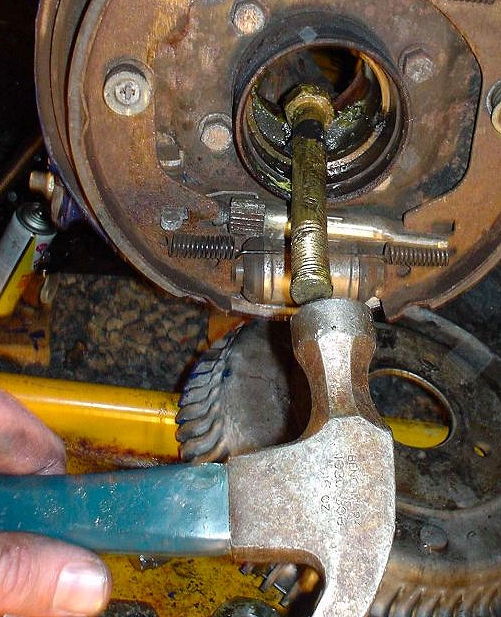
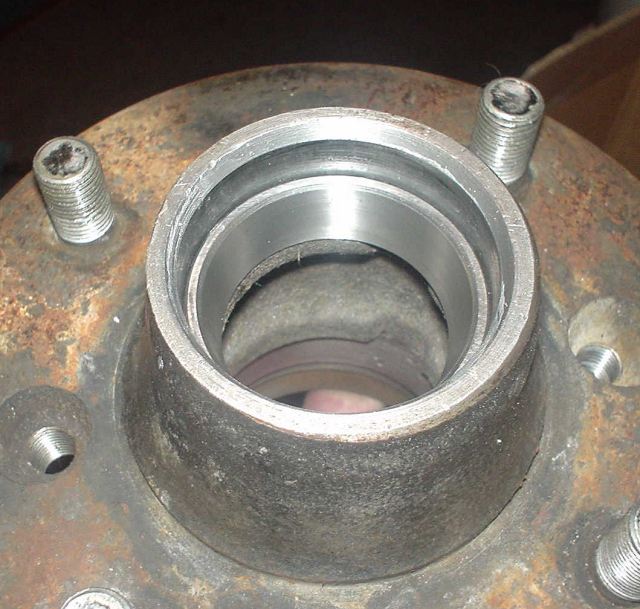
when looking into
the hub, note the two cut-outs in the hub where the races seat. These are 180
degrees apart. To remove the race evenly (to prevent galling), alternate
punching on one side then
on the other. Take your
time.
Notes:
- Be careful not the gall the hub when
driving out the old races. A wayward punch can do this (thus the brass drift
recommendation). Galling in the hub can make installing a new race challenging.
- If the hubs are galled, a small sanding drum on a rotary tool or a file can be
used to smooth the surface.
- Cooling the races in the freezer before installing and warming
up the hub helps make the races go in easier.
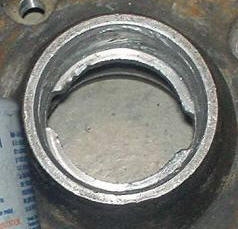
Here is the old race. It is easy to see the wear/damage.
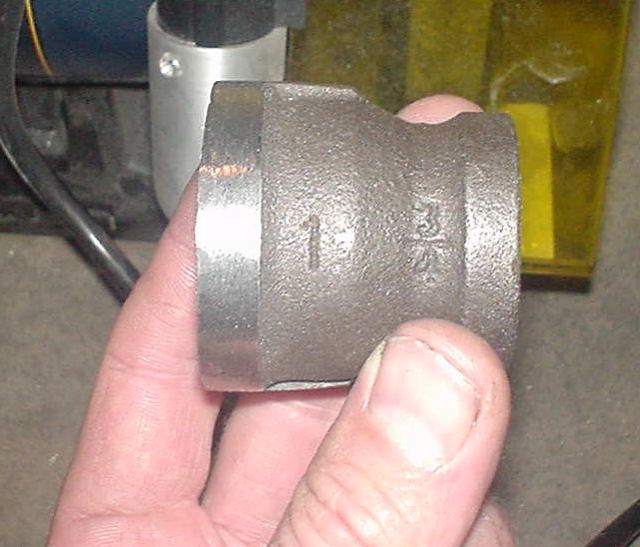
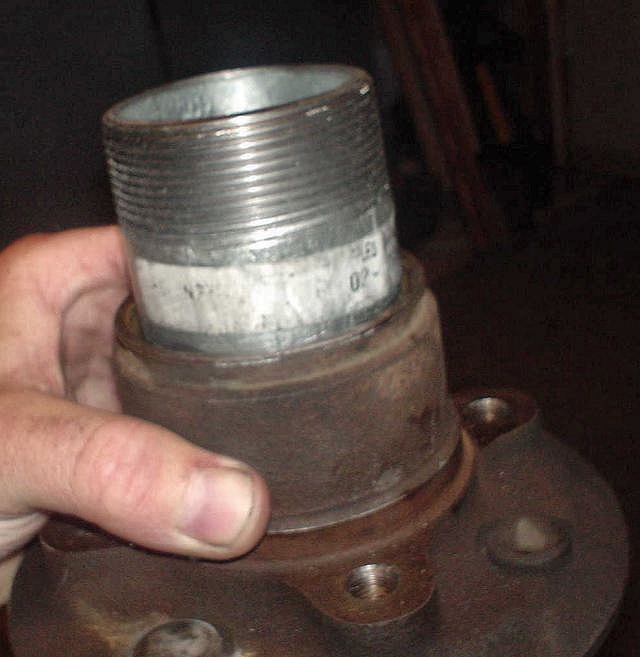
Homemade front wheel outer race driver. 1" pipe coupler with slight grinding
to fit (thread is inside).
Notes:
- An aluminum driver is
recommended to minimize potential damage during installation.
- In a pinch:
slit the old bearing with a hand grinder and use it as a drift.
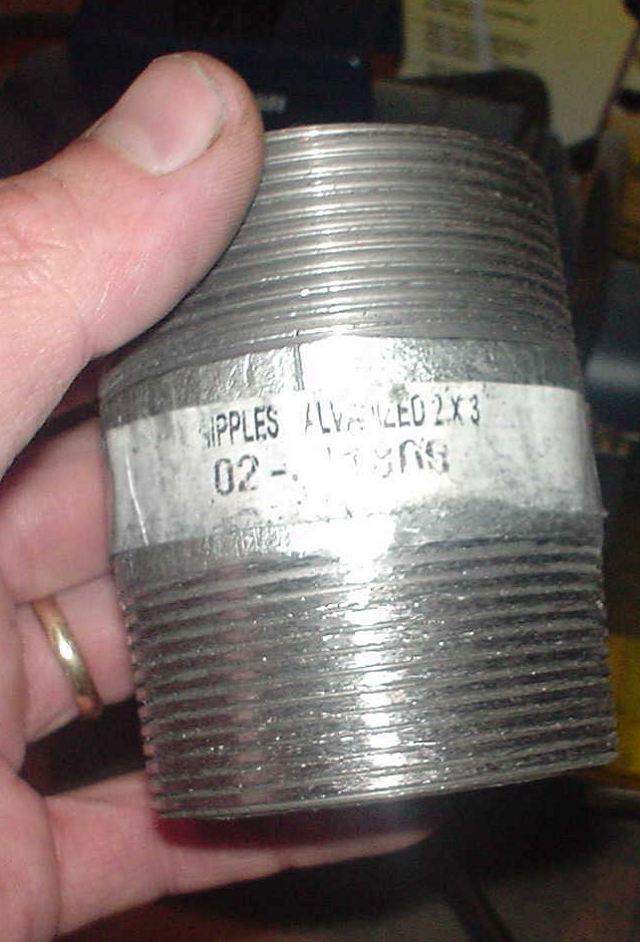
Homemade front wheel inner bearing driver: 2" threaded pipe
coupler.
Notes:
- The threads are lightly ground to make it fit.
- In a pinch: slit the old bearing with a hand grinder and use it as a drift.
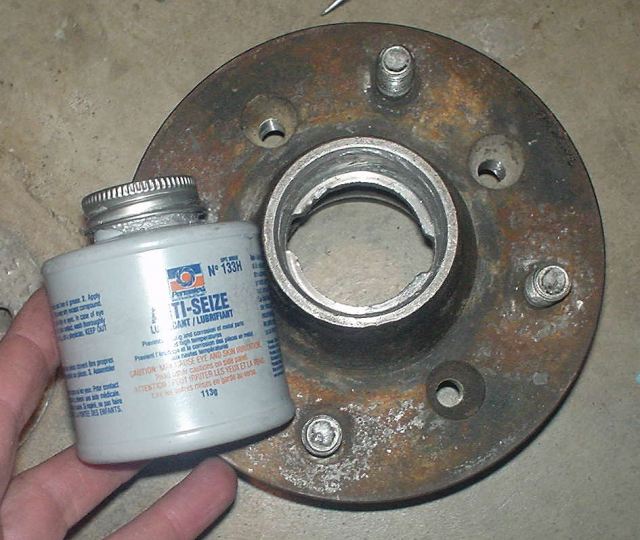
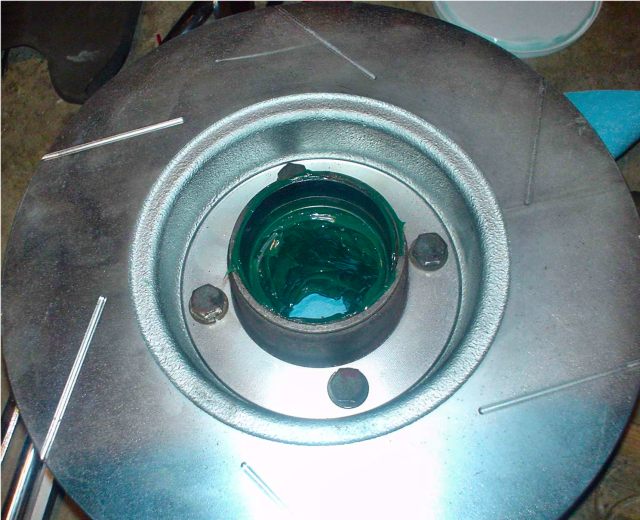
Apply anti-seize to the hub where the race will be placed
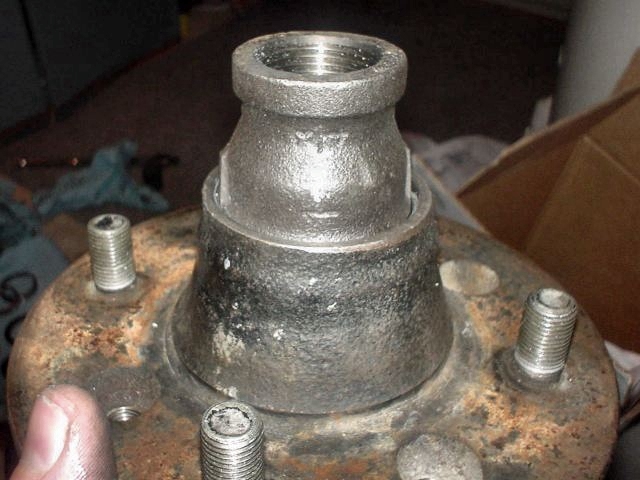
Use tool to drive and seat the race. Tap gently and uniformly.
It is an
interference fit so it is important that the race remains parallel at all
times to prevent galling. Take your time.
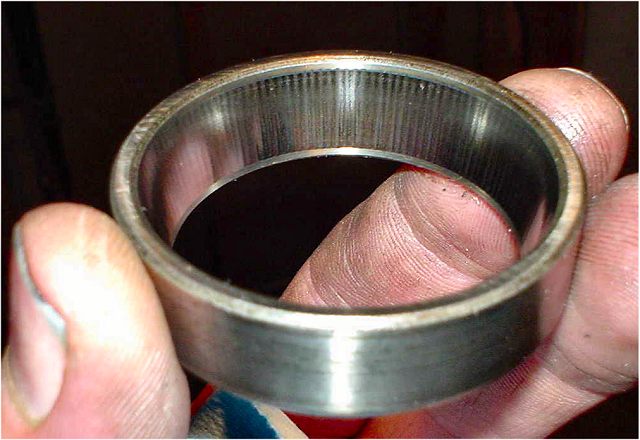
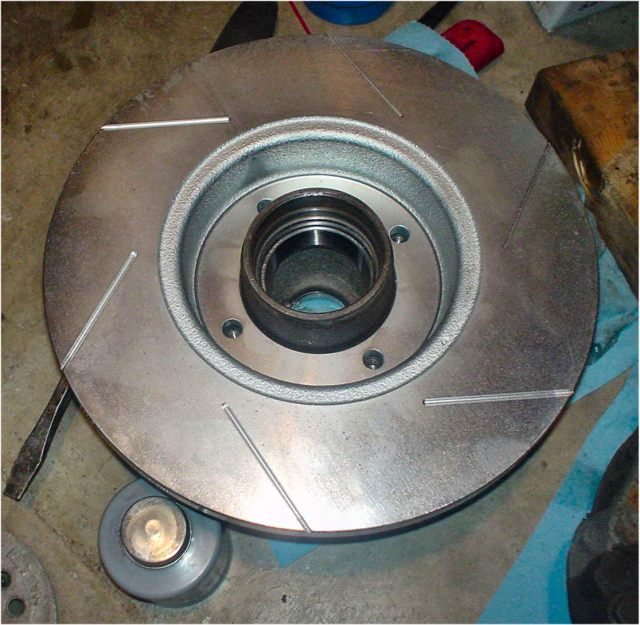
Job done. A nice fresh outer race is installed.
Repeat with inner race.
Inner race is seated. (Wetness is condensation from the cooling in freezer.)
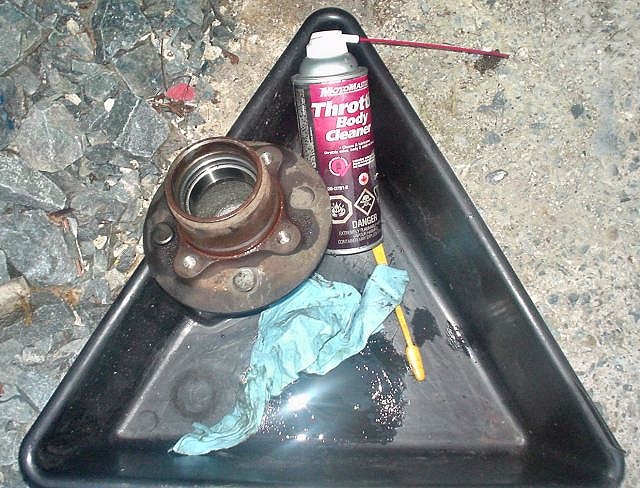
Clean and remove condensation.
Cleaned.

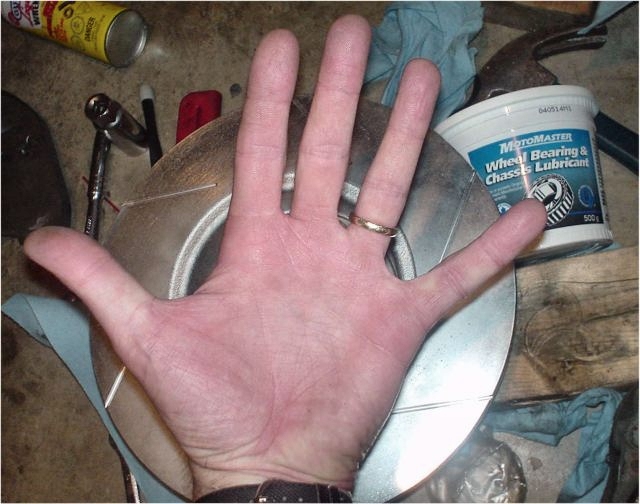
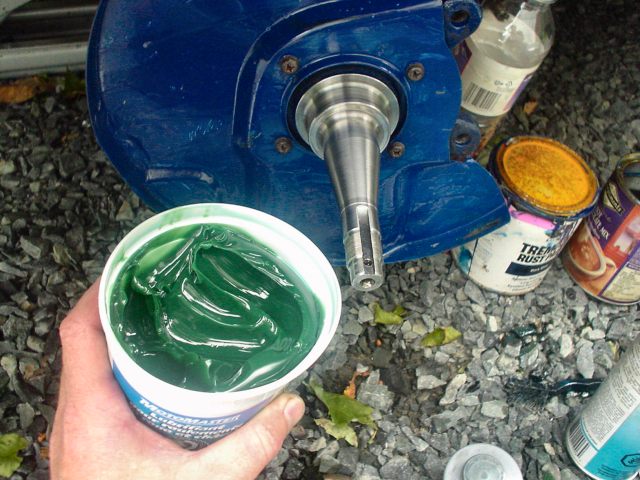
Wheel grease. Note: Wurth SIG3000 is
the good stuff.
Ready to go
Packing the bearing with grease:
It is better to do the following inside a zip-lock plastic bag. The
old-school way is shown here.
If you want clean bearings, start with
clean hands.
Grease inner race.
Grease inner bearing
Reminder: The clever way to do this is by placing the bearing and grease in a
clear plastic bag.
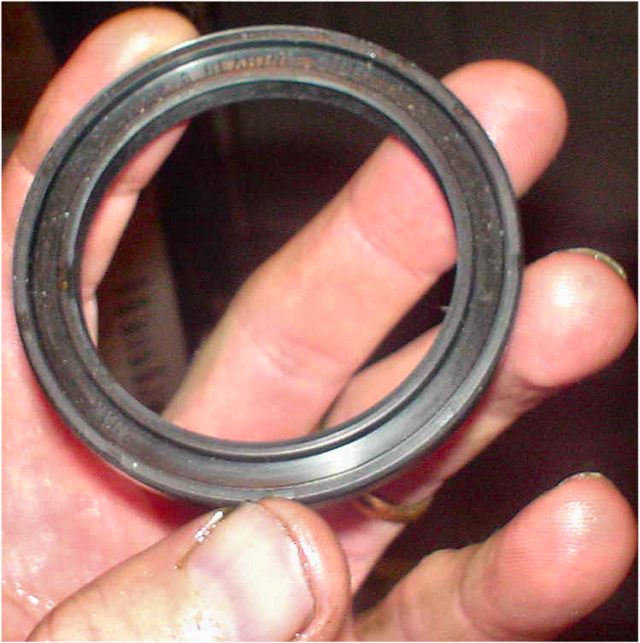
Inner seal
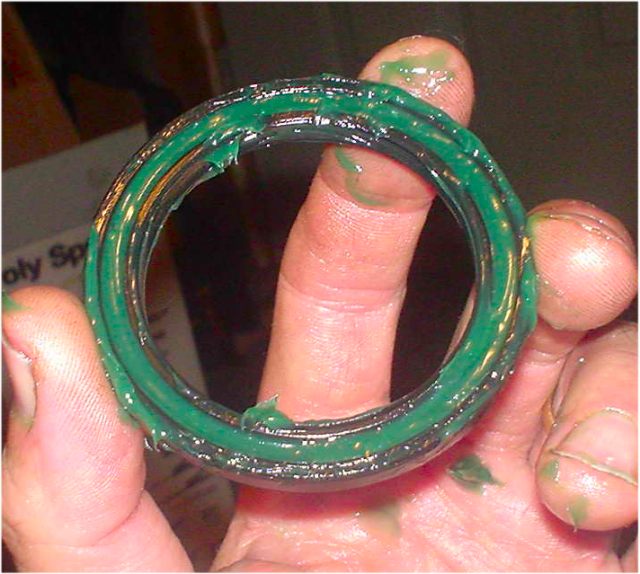
Grease inner seal then install. Don't
forget to also grease the lip (where it spins on the spindle).
Completed inner bearing and seal
Spindle is now ready for hub.
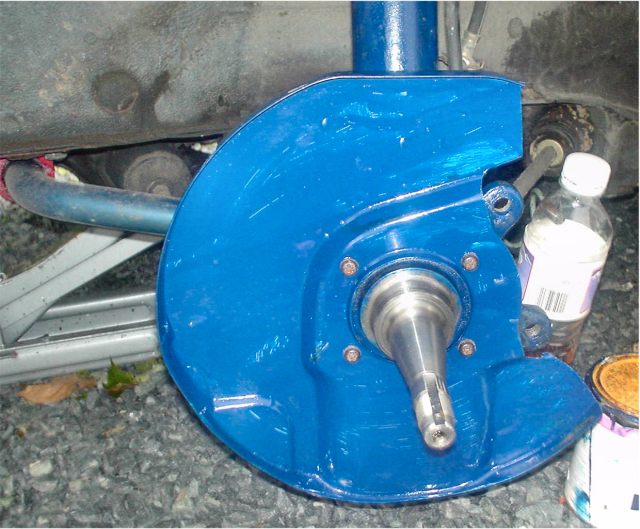
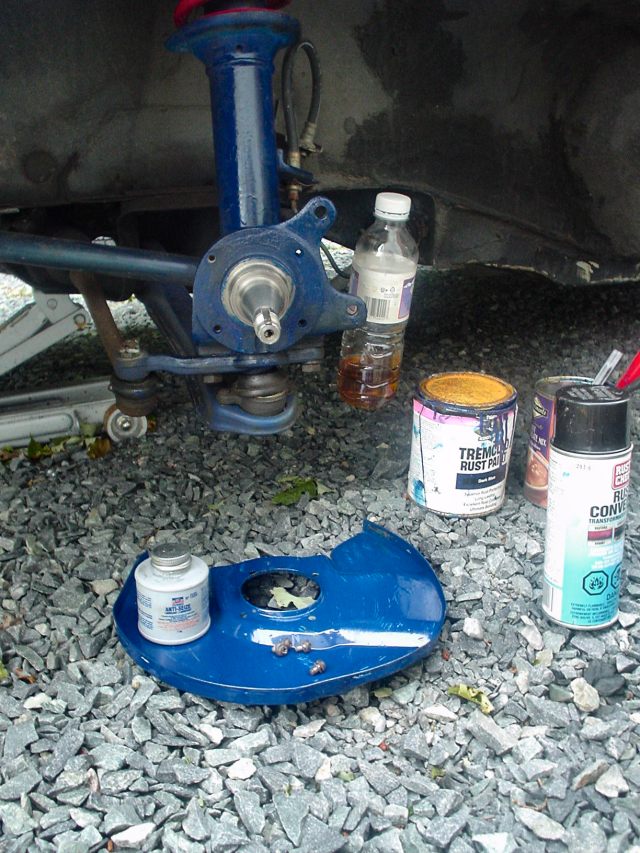
Mount brake guard if removed.
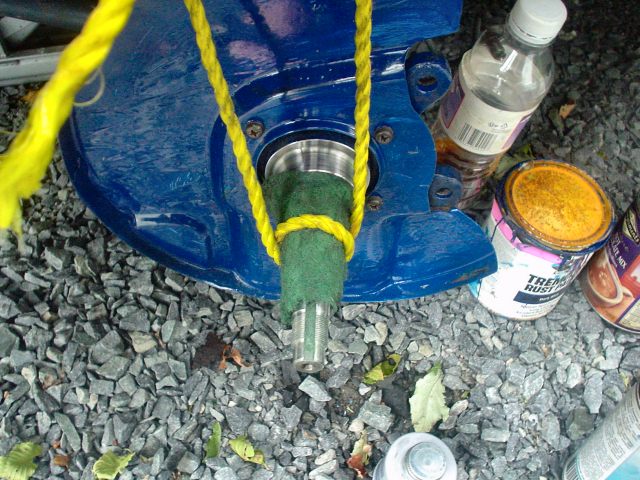
Prep spindle with "scotch-brite" pad and rope.
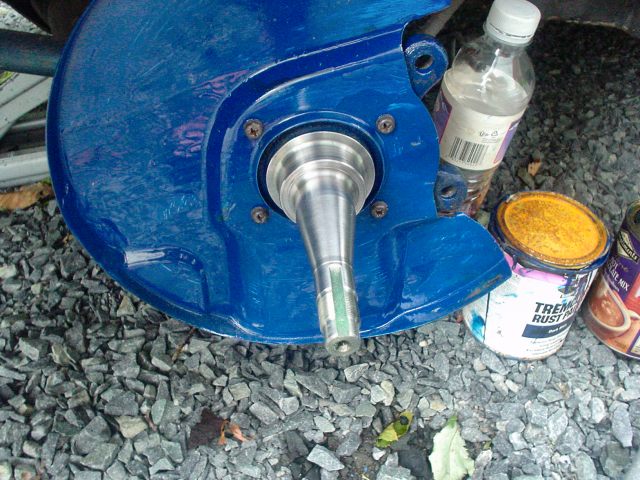
Shiny and new.
Clean off the "scotch-brite" remnants.
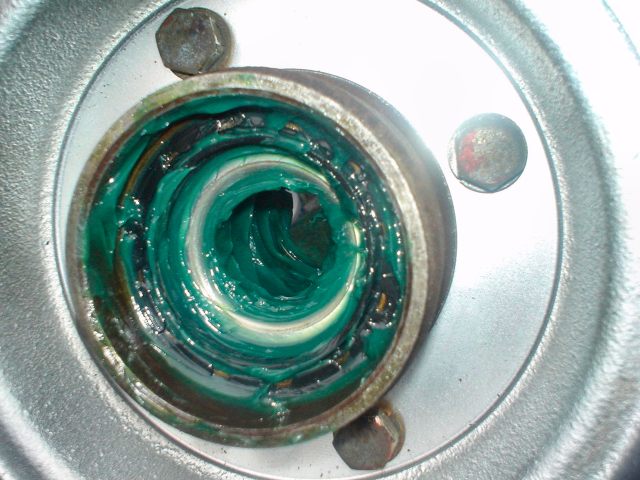
Grease the spindle.

Messy but ready.
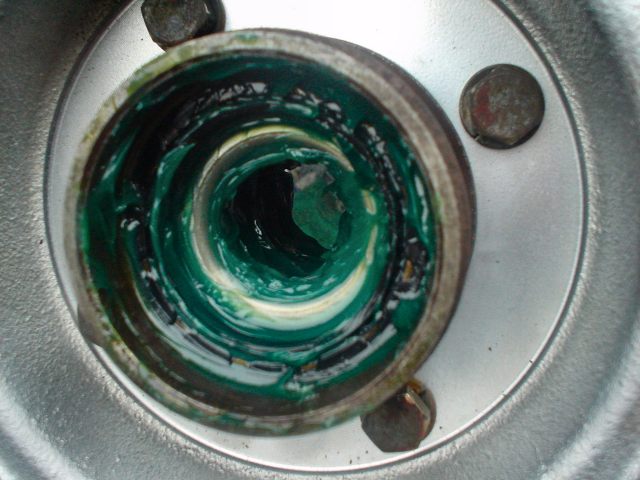
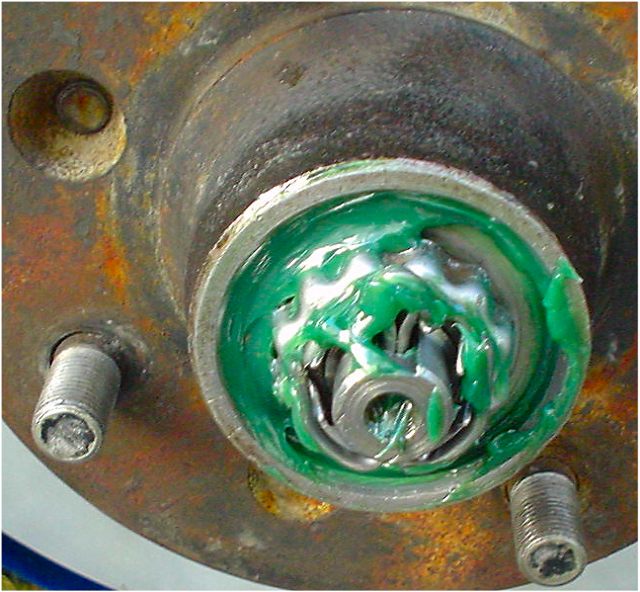
Greased-up inner seal, inner bearing, and grease packed hub.
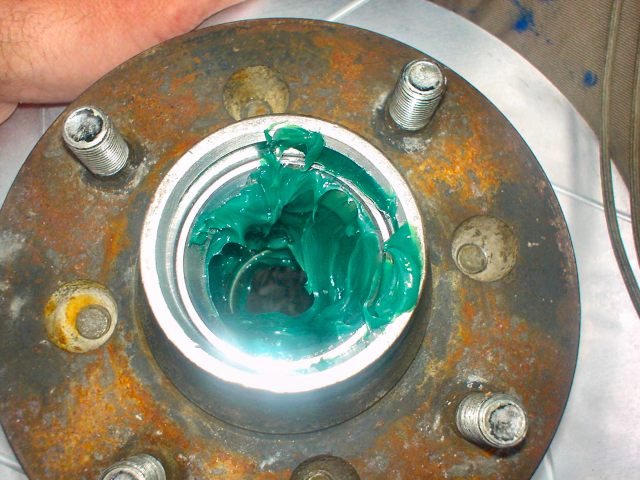
Really packed hub.

Place hub on spindle (Brembo rotors).

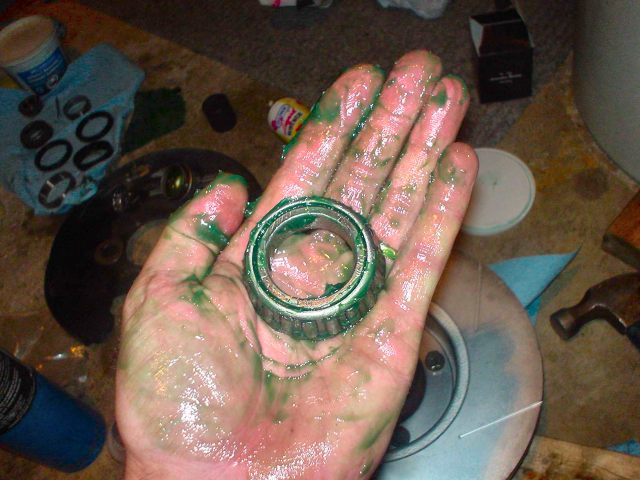
New outer bearing. (TIMKEN KLM11949C in
this case. It is a common size used in many cars and trailers. It is even
available at Walmart on-line).
Avoid "Made in China" parts as they are
dangerous.
New outer bearing (other side).
Greased outer bearing.
Greased outer race.

Install outer bearing and grease.
Install washer.
Install nut and torque (18-22ft-lbs). Rotate a few
times then re-torque to 20ft-lbs.

Test pre-load with fish scale and wheel stud, Adjust nut if needed.
Target is between 1.5lb to 3.3lb or 0.7kg to 1.5kg.
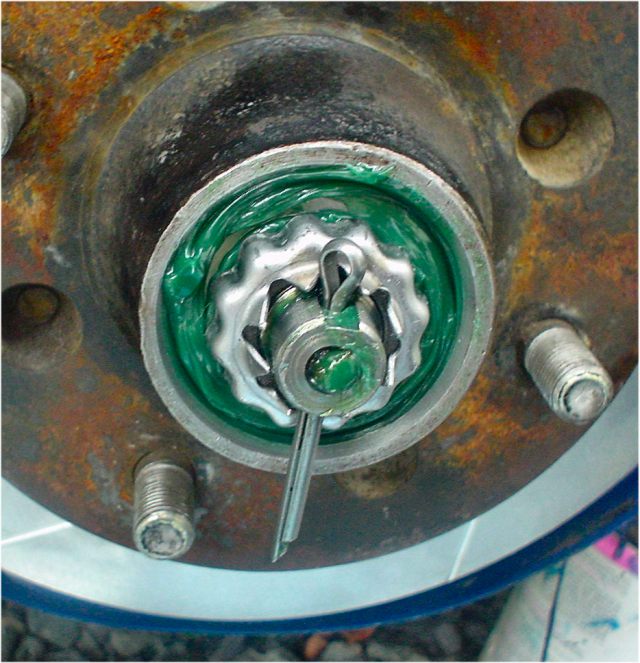
Install nut-lock.
Note:
The crown
is staggered so it can be installed many ways, each with a different alignment
between the cotter pin hole and the nut-lock's "V" gaps.
If the nut-lock's "V" gaps do not line up with cotter
pin hole, simply pull nut-lock off the nut, rotate the nut-lock then reinstall.
The V's are offset so
that they will eventually line up.
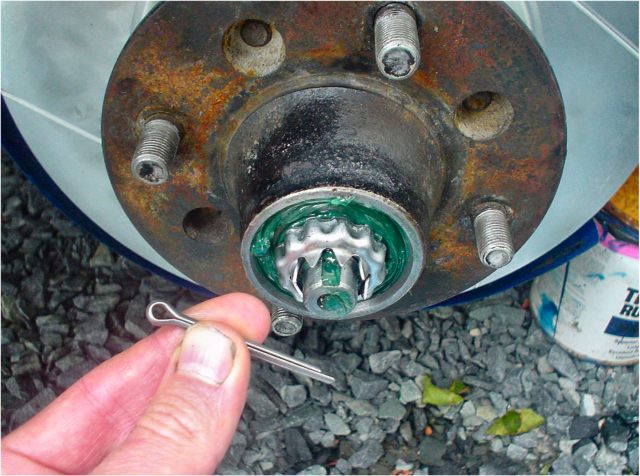
Install NEW cotter pin
Installed.

Bend cotter pin
Notes:
-
In this procedure,
the cotter pin is not installed optimally. The reason being that the cotter pin
is stronger when its slit is parallel to the plane of nut rotation. With this
geometry, the nut would have to shear both sides of the pin at thesame time to
break free.
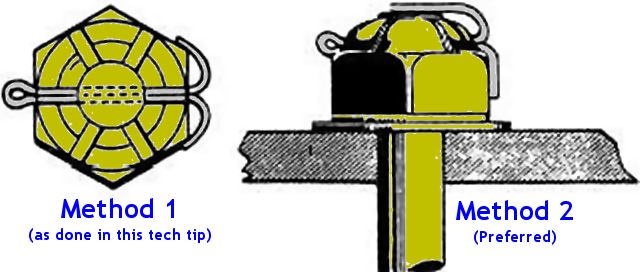
Of
course there is always more than two ways to do something: A third method is
the "Rolls Royce Twist". Before using the new cotter pin, hold one end
in a vise and twist it's other end 90 degrees just below the head. This allows the
head to be aligned (as in Method 2 above) but the two legs of the pin can be
folded back (as in Method 1 above) against the outside of the retainer. The legs
will not hit the
grease cap so they do not need to be trimmed as often is needed in Method 2.
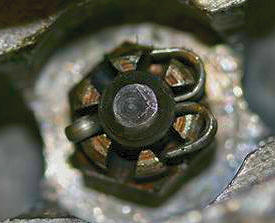
Cotter Pin Installed
Using "Rolls Royce Twist" Method
More grease.
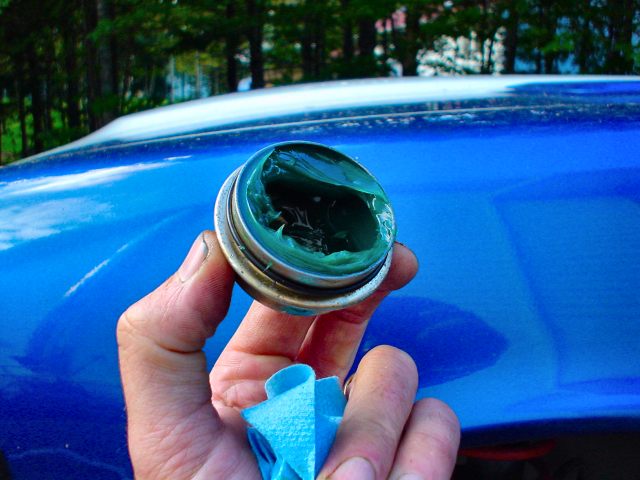
Grease cup.
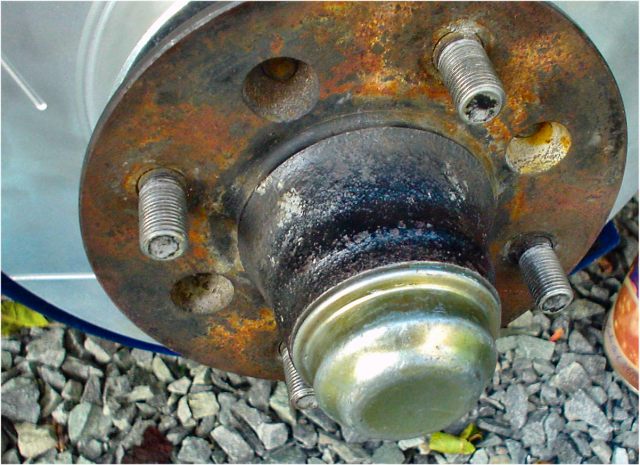
Done.